DIY Yayoi Kusama Painted Pumpkins
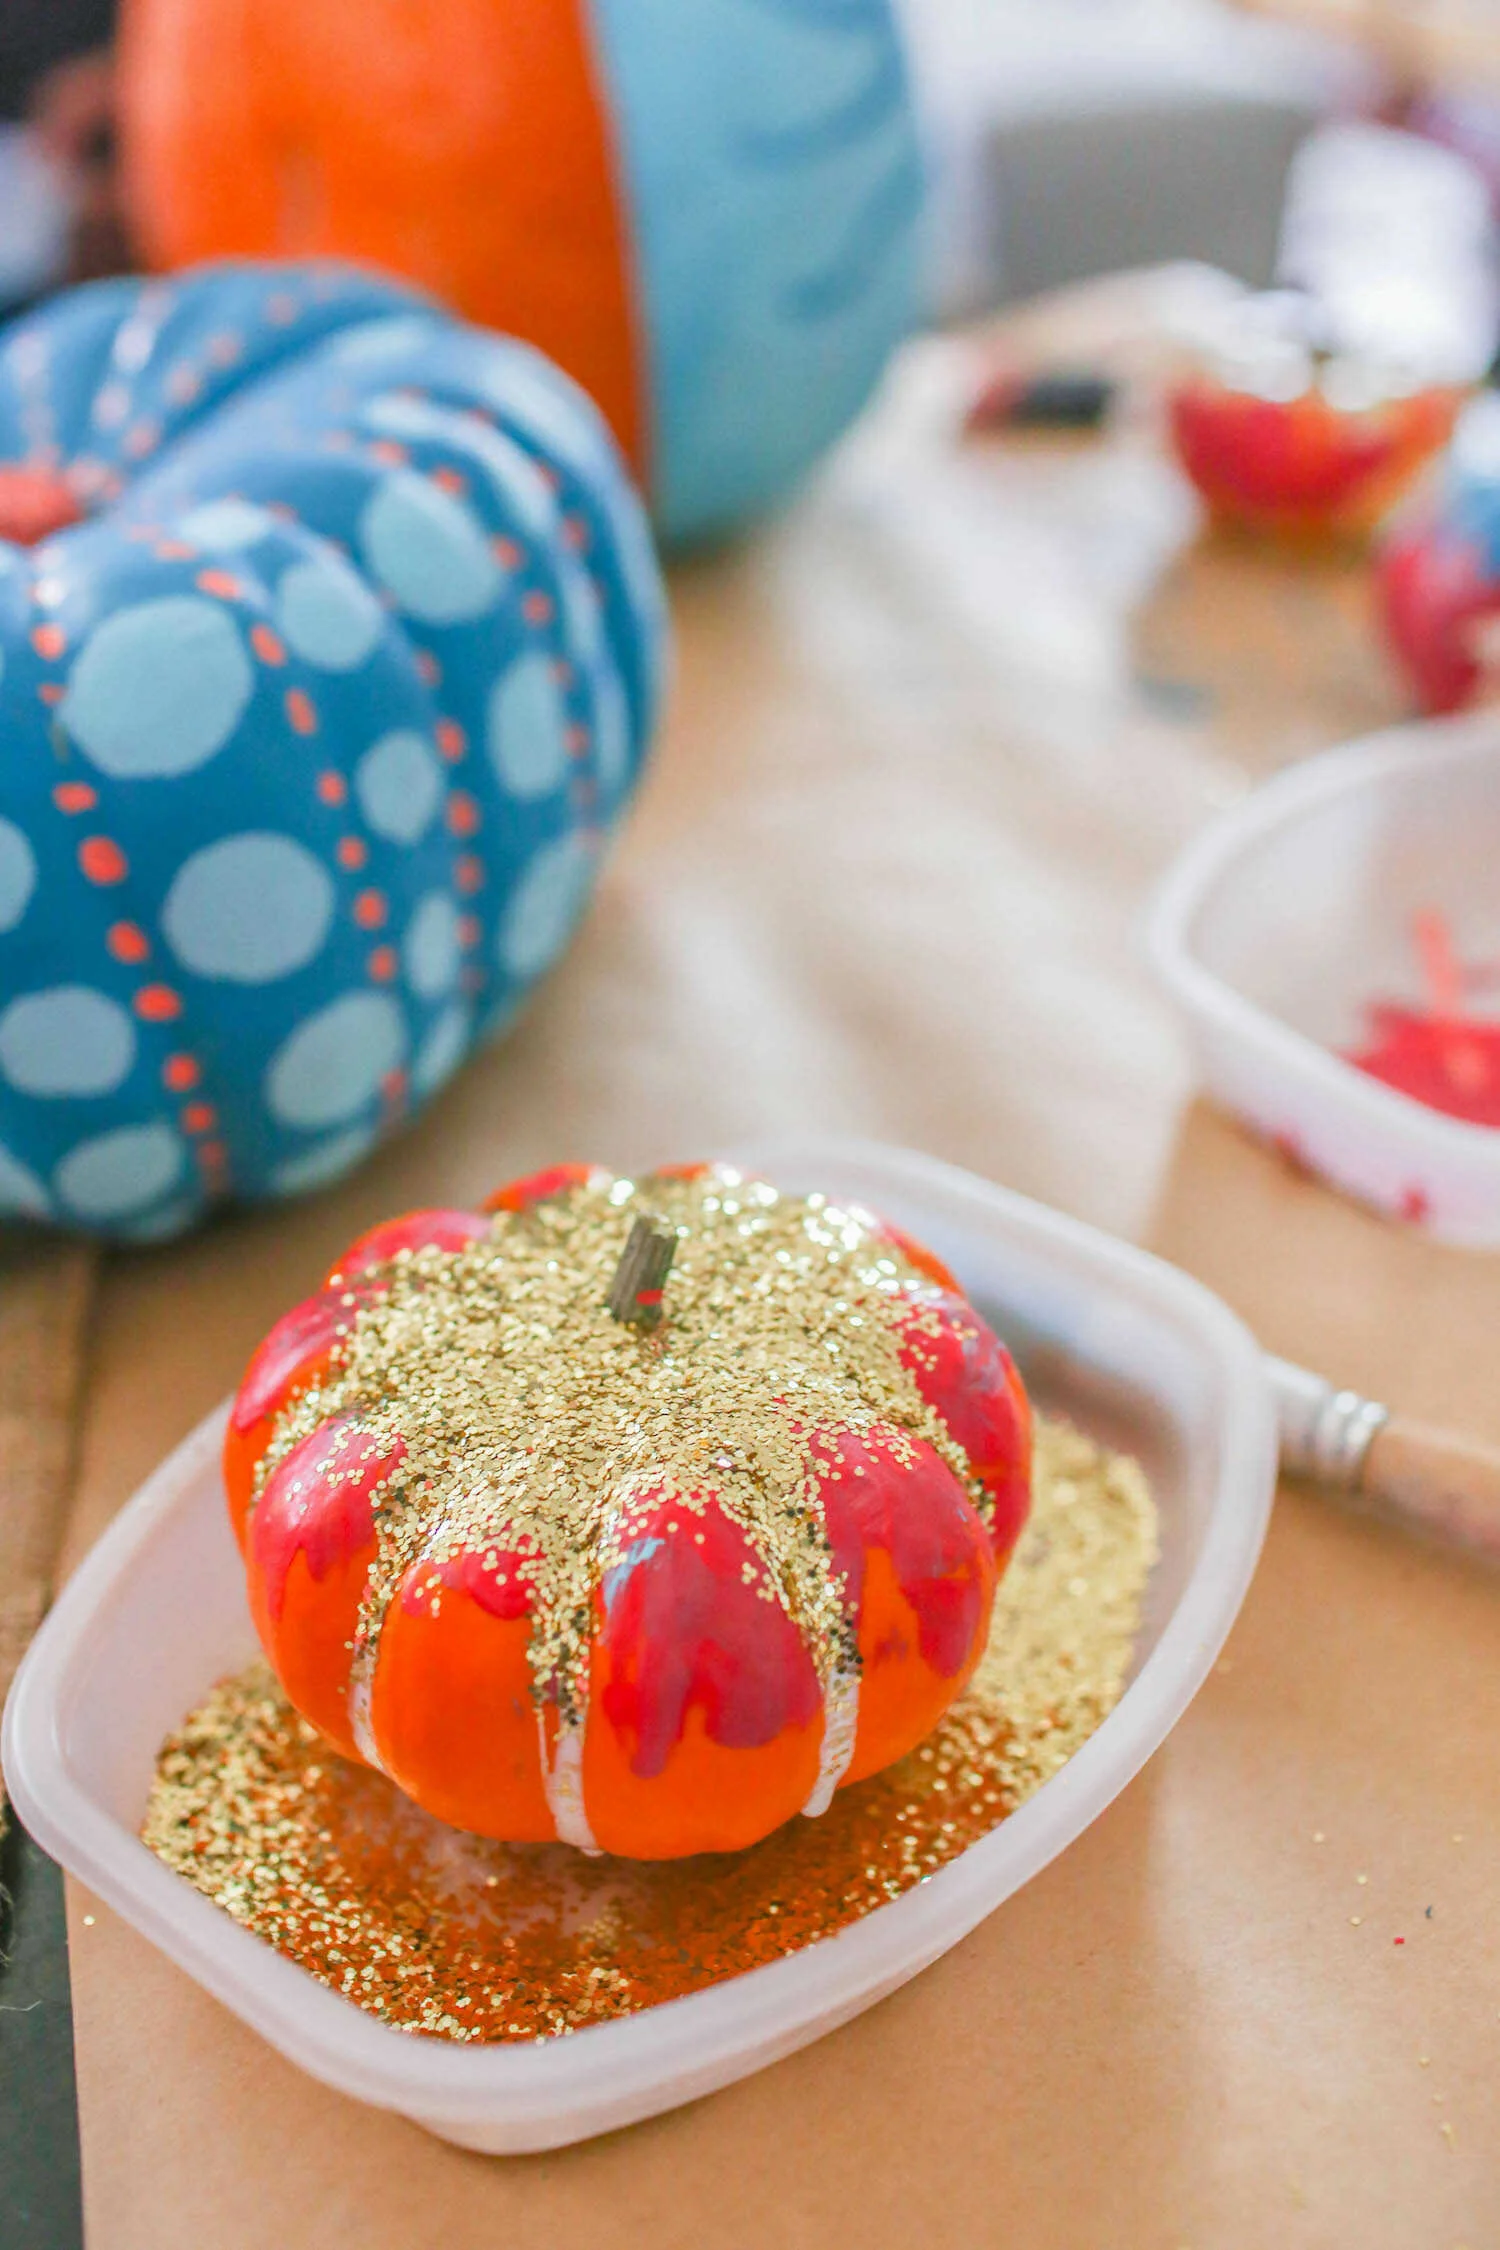
Halloween is coming up quickly this October and we decided to get crafty with some DIY pumpkin painting. My 2-year-old daughter Scout insists that Halloween shouldn’t be scary, so instead we decided to make it colorful and full of art.
My husband painted his pumpkins with an “under the sea” theme, Scout did a very modern “paint splatter and sparkle” design, and I opted to emulate the great Japanese pop artist Yayoi Kusama.
Keep reading to see my step-by-step guide to planning and creating your own Yayoi Kusama inspired painted pumpkins for the fall season.
All About Yayoi Kusama
Kusama is famous for her bold use of color and polka dots to create larger than life sculptures, paintings and art installations. Some of her most famous works are the collection of Infinity Mirror Rooms found in several museums around the world and of course her spotted pumpkins.
The Kusama portfolio of pumpkin art is filled with variety. From enormous polka dot pumpkin sculptures to a collection of small pumpkins in repetition to create an eternity effect with mirrors. Kusama is quoted as saying: “I love pumpkins because of their humorous form, warm feeling, and a human-like quality.”
One fascinating aspect of Kusama’s life is that she uses art therapy to cope with her mental health issues. Beginning in childhood she suffered from hallucinations and obsessive-compulsive behaviors which still plague her to this day. For many years she’s been living voluntarily in a psychiatric asylum in Tokyo where at 90 years old she remains.
Step-by-Step Guide to Planning Your DIY Yayoi Kusama Painted Pumpkins
Find an Inspirational Photo
After a quick search of Yayoi Kusama pumpkins on Pinterest you’ll find plenty of inspirational photos to use as a guide. You can decide if you want to copy her polka dot pattern exactly, or just use it as a loose outline. My suggestion is to be creative and experiment with colors and patterns to create your own masterpiece.
Define Your Color Palette
Before you begin shopping for your paints, think about the colors you want to use. They should be bold and contrasting so that your polka dots really stand out and pop. You can go with color themes such as pastels, Halloween colors, primary colors, black and white, earth tones, etc.
Purchase Your Supplies
I recommend shopping online at Michaels for your craft supplies, they always have the best selection!
Your shopping list will include:
fresh or faux pumpkins. Select pumpkins in a variety of shapes and sizes for a more interesting decor display.
paint brushes - both the foam brushes and fine bristled brushes for small detail painting
disposable bowls for paint
Either glitter glue or Elmers glue and glitter (optional)
newspapers or butcher paper to protect your table from paint splatter
*Pro tip - You can use the butcher paper with paint splatters as DIY Christmas wrapping paper!
Paint a Base Color and Let it Dry Completely
Now that you’re ready to begin painting your pumpkin, for this step use a foam brush for large and even strokes. When you’re covering a large surface with acrylic paint, you want to avoid paintbrushes with brittle bristles because it will leave paint streaks.
Add Your Polka Dots
With a small bristled brush you can paint small circles with precise definition. If you’re not comfortable doing free hand circles, you can draw them out first on your pumpkin with a light pencil. You can also do layers on polka dots, just make sure you let each layer dry in between coats of paint.
For the final touch you can add some glitter and glue for an extra razzle dazzle!
Proudly Display Your Painted Pumpkins
If you live in a city without extreme temperatures in the fall, your acrylic painted pumpkins can sit on your front porch and welcome guests. Otherwise they make for great fireplace mantel displays or entryway decor. Happy Halloween!
From Etsy.
From Etsy.


