Effective Tips for Pain-Free Waxing at Home
Getting rid of unwanted hair at home can seem like a challenge, but with the right techniques, it doesn't have to be painful. Many of us have tried different methods, but waxing stands out because it offers longer-lasting results. The key to a pain-free waxing experience is all about preparation, technique, and aftercare. To make waxing at home almost painless, focus on proper skin prep, using the right waxing products, and taking good care of your skin post-wax.
Home waxing is more than a self-care routine—it's a way to enjoy smooth skin without the salon trip. Let's face it, nobody likes the "yikes" moment when pulling off a wax strip. By following expert tips, we can transform our home waxing routine into one that’s not only effective but also something we look forward to. Pain-free waxing means taking small steps that add up to a big difference.
With the right approach, our at-home waxing experience can become an empowering part of self-care. Understanding our skin type and choosing the correct products ensures we are kind to our bodies while achieving silky results. When we know what we’re doing, waxing at home can be just as effective as visiting the professionals.
Preparing Your Skin for Waxing
To have a smooth and pain-free waxing experience, we need to get our skin ready properly. This involves understanding how hair grows, making sure the skin is clean and smooth, and keeping the skin well-hydrated to minimize irritation and prevent ingrown hairs.
Understanding Hair Growth and Length
For waxing to work best, we aim for hair that's around 1/4-inch long, about the size of a grain of rice. This length ensures the wax can grip the hair effectively, reducing the chances of breakage and missed hairs. Waiting 1-2 weeks for hair to reach the right length is optimal.
If the hair is too short, the wax might not catch it, making the process less effective. Conversely, if hair is too long, it can be painful. So, trimming excess hair before waxing helps immensely in making the process easier and less painful.
Exfoliation: Key for Preventing Ingrown Hairs
Exfoliation is crucial when prepping our skin. By removing dead skin cells, we allow the wax to adhere closely to each hair. Exfoliating also helps prevent those annoying ingrown hairs that sometimes appear after waxing.
Using a gentle scrub or exfoliating gloves about 24-48 hours before the session works wonders. This keeps irritation at bay, leaving the skin smooth and ready for waxing. Avoid rough scrubs or exfoliating too close to your waxing appointment, as this can make the skin more sensitive.
Hydration and Skin Sensitivity
Our skin needs to be hydrated to stay healthy and pliable, which greatly reduces pain during waxing. Applying a light, non-greasy moisturizer in the days leading up helps with this. However, skipping the moisturizer on the actual day of waxing is crucial because too much moisture can make it hard for the wax to grip the hair.
We should also be aware of how our skin reacts to different products. If we have sensitive skin, mild lotions are a safer bet to avoid any adverse reactions. By understanding and addressing skin sensitivity, we improve both the comfort and effectiveness of our waxing experience.
Choosing the Right Waxing Products
When it comes to waxing at home, selecting the right products is key for a successful and pain-free experience. Understanding the differences between types of wax and having the correct tools can make all the difference.
The Differences Between Soft and Hard Wax
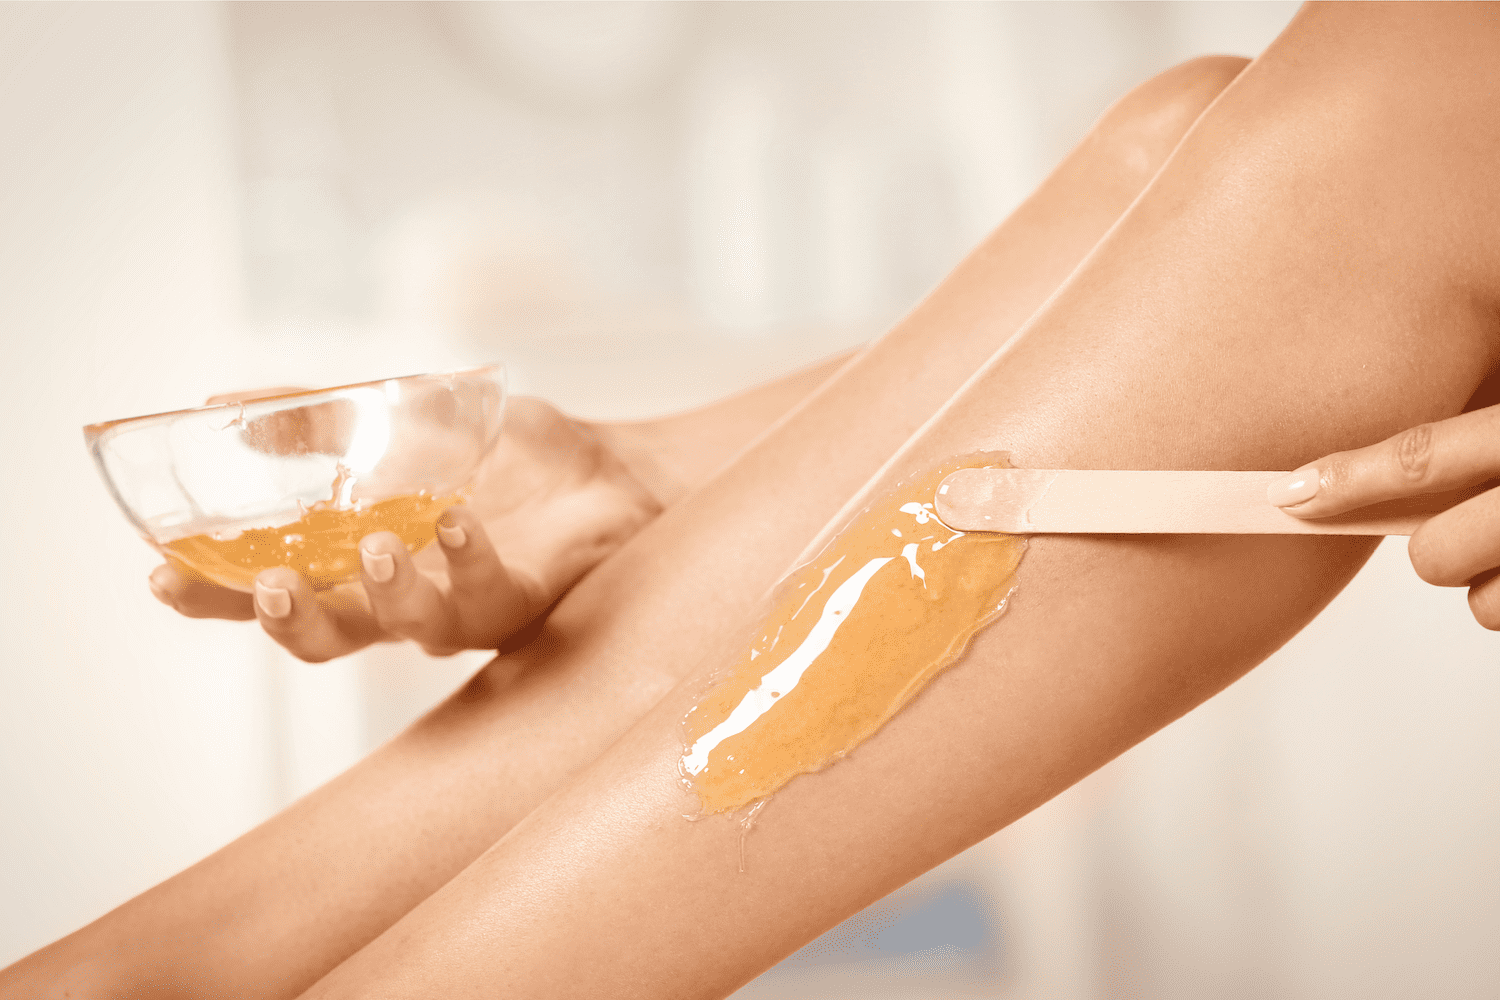
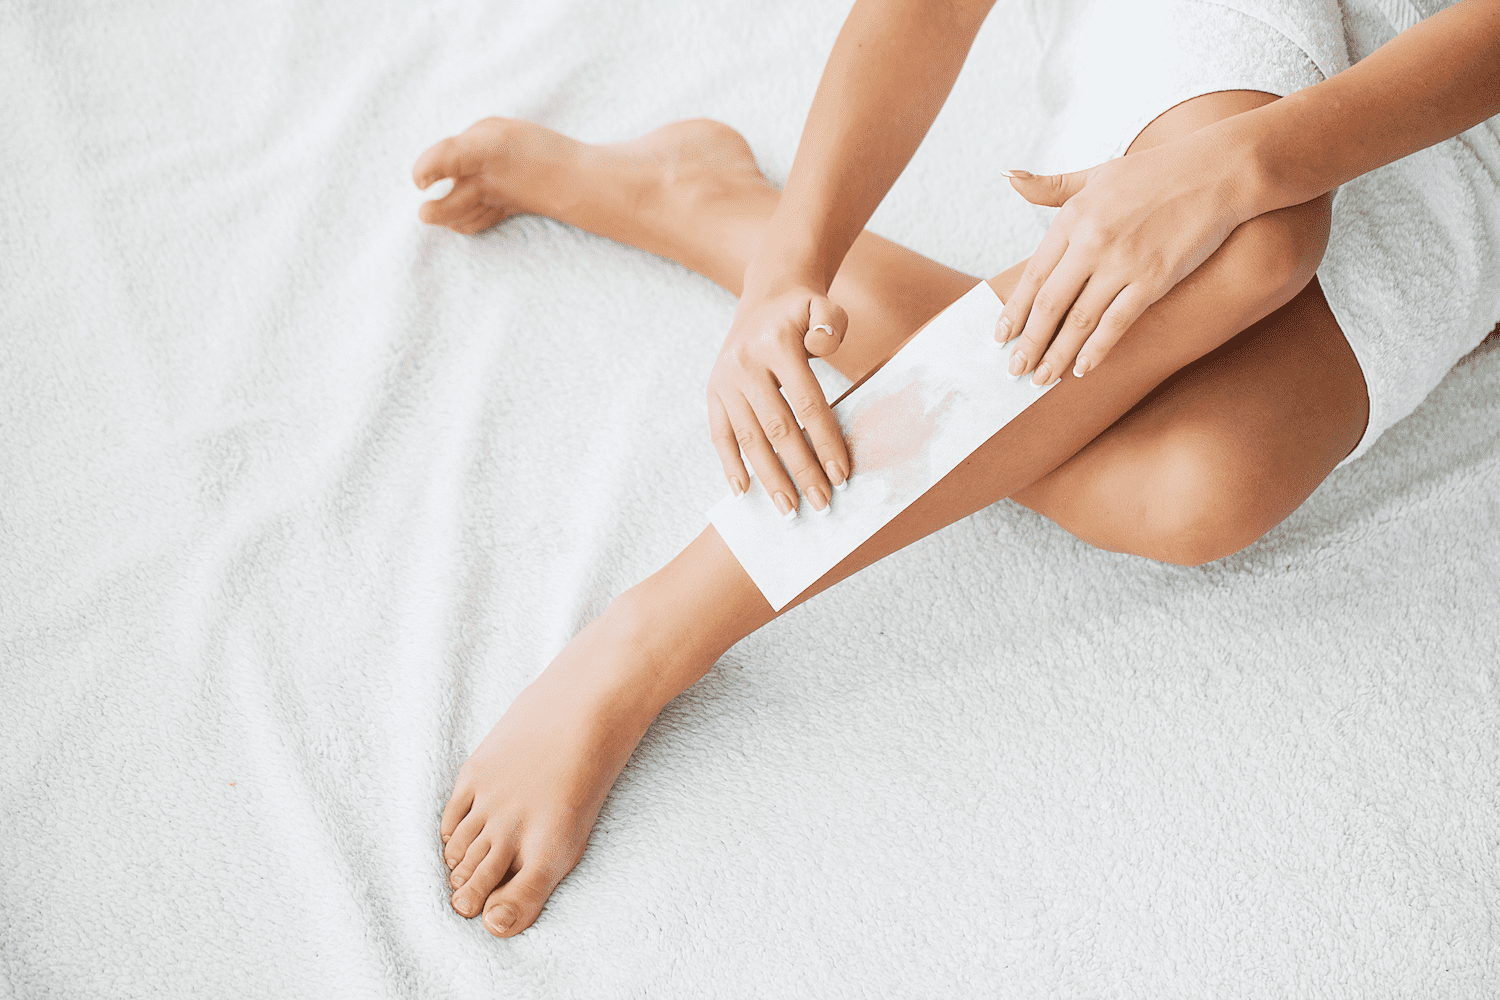
Soft wax and hard wax each serve different purposes. Soft wax is applied in a thin layer and removed with waxing strips. It's perfect for large areas like legs or arms. It’s quick but can be harsh on sensitive skin if not used correctly.
On the other hand, hard wax is applied thickly and hardens on the skin, allowing us to remove it without strips. This makes it ideal for small, sensitive areas like the bikini line or face. It’s generally less painful because it only sticks to the hair, not the skin.
Essential Tools: Wax Warmer, Applicators, and Strips
Having the right tools is essential for a smooth waxing process. A reliable wax warmer helps maintain a consistent temperature, reducing the risk of burns. It’s a must-have for both soft and hard wax as it keeps everything at the perfect heat.
Wax applicators are important for spreading the wax evenly. Wooden spatulas work well for this task. Waxing strips are necessary for soft wax removal. They should be strong enough to not tear but flexible enough to conform to body contours. A well-prepared waxing kit often includes these tools.
High-Quality Wax for Long-Lasting Smoothness
Investing in a high-quality waxing kit for flawless skin ensures better grip on hair and reduces irritation. Kits like the Tress Wellness Waxing Kit offer premium wax with soothing ingredients such as chamomile or aloe vera, which help minimize redness and discomfort during the process. With a reliable wax warmer, applicators, and wax designed for sensitive skin, achieving salon-quality results at home becomes a breeze. Choosing the right kit is not just about convenience—it's about ensuring the health and comfort of your skin for long-lasting smoothness.
Quality wax lasts longer, meaning fewer touch-ups and a smoother finish. Investing in good wax might cost more upfront but saves time and skin trouble down the road. Always remember, a worthwhile investment is one in our skin’s health and comfort.

The Waxing Process: Step-by-Step Guide
Let's dive into achieving smooth skin without the fuss. Proper application techniques and pain reduction tips are essential for effective and comfortable waxing.
How to Apply Wax Correctly
Getting the wax ready is our first task. We must ensure it's at the right temperature—not too hot to avoid burns. Hard wax works great for sensitive areas like the bikini line.
Before applying the wax, we need to cleanse and dry the skin thoroughly. Keeping the skin free of oils ensures the wax adheres properly. It's vital to spread the wax in the direction of the hair growth using a wooden spatula or roller. This method reduces tugging on the skin, which helps minimize discomfort.
The Art of Removing Wax Strips
Let's talk about pulling off those strips with style. Don't rush this step. Wait a few seconds for the wax to harden slightly.
When we're ready, hold the skin taut to limit movement and reduce pain. Quickly pull the strip against the direction of hair growth. This technique ensures most hairs come out in one swift motion.
A quick pull prevents the wax from sticking to the skin and helps decrease pain. Remember to stay committed and confident as we pull.
Reducing Pain and Irritation During Hair Removal
Minimizing discomfort is our next goal. Numbing cream can be a lifesaver for those with low pain tolerance. Applying it 30 minutes before waxing can significantly reduce pain.
Even without cream, holding the skin taut is crucial. Let's not forget to moisturize post-waxing. A calming gel or spray helps soothe any irritation or redness. Natural ingredients like aloe vera can further ease the skin.
Maintaining proper aftercare is a key part of making this process as pain-free as possible. Taking these steps ensures our skin stays smooth without unnecessary discomfort.
Aftercare and Maintaining Smooth Skin
Keeping our skin smooth after waxing is crucial to enjoying the benefits of this hair removal method. Effective aftercare can prevent redness and ingrown hairs.
Post-Wax Care for Minimizing Redness and Bumps
Right after waxing, our skin is more sensitive, which can lead to redness and bumps. To tackle this, we should avoid hot showers, saunas, and exercise for at least 24 hours. These activities can irritate the skin and lead to ingrown hairs.
Regular exfoliation helps remove dead skin cells, preventing clogged pores. Exfoliating 2-3 times a week, especially in areas like the bikini line and underarms, keeps our skin smooth. We must also remember to moisturize daily to keep the skin hydrated and healthy. A gentle, unscented lotion is best.
Aloe Vera and Ice Packs: Soothing Your Skin
When our skin feels sore post-wax, aloe vera gel and ice packs come to the rescue. The natural cooling effect of aloe vera helps reduce irritation and soothe the skin.
Applying aloe vera gel right after waxing and regularly for a few days helps calm the skin. Ice packs are another effective way to reduce swelling. Apply them over a thin cloth on the affected area for a few minutes to ease discomfort.
Keeping a small aloe plant at home can provide fresh gel whenever needed. This approach not only soothes our skin but also adds a touch of natural care to our routine.
When to Seek Professional Waxing Services
Sometimes, DIY waxing might not give us the results we want or could irritate sensitive skin. In such cases, turning to professional waxing services can be wise. Professionals are trained to handle various skin types and offer advice tailored to individual needs.
If we frequently face redness, bumps, or ingrown hairs that don't improve with regular aftercare, it's time to consult a specialist. They offer advanced techniques that aren't easily replicated at home. For those unsure about home waxing, professional services ensure a smooth waxing experience without the hassle.
Conclusion
Achieving pain-free waxing at home is possible with the right preparation, techniques, and products. By understanding your skin’s needs and using high-quality tools, you can transform your waxing routine into a self-care ritual that leaves you feeling smooth and confident. Remember, the key is in the details—from choosing the right wax to ensuring proper aftercare, each step contributes to a flawless finish.